Learn how to set up a GitHub Account, link to your @uw.edu email address to your GitHub account, accept your course/program's GitHub Organization invitation, and accept GitHub Classroom assignments.
GitHub Account
You need a GitHub account associated with your UW NetID to accept GitHub Classroom assignments. You can either use an existing GitHub account or you can create a new account. Either way, you need to make sure that your @uw.edu email is associated with your account under Settings>Email. It is best to have at least 2 e-mail addresses associated with your account.
NOTE: if you choose to create a second GitHub account, make sure you are logged in to the account associated with your @uw email before accepting assignments or you will get an error when you try to accept the assignment.
Existing Account
If you have a GitHub account that is not associated with your @uw email address, you must do so under Settings>Emails before you log in or you won't be able to generate your assignment repository in your program's UW GitHub Org.
Create an Account
- Go to GitHub and click the Sign up link in the upper right corner.

- Complete the form. As you enter your information, GitHub will check that it is valid. Green check marks appear by each of the first 3 fields as they are verified.
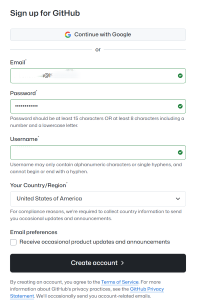
- The main email for your account. We recommend using your @uw email for your GitHub account for this course/program. You can (and should) add additional emails to your GitHub account under Settings>Email at any time.
- A password for your GitHub account. Make sure your password is at least 15 characters OR at least 8 characters including a number and a lowercase letter.
- A username for your GitHub account. Keep in mind that all your assignment repositories will include this username (e.g., assignment1-mygithubname)
- Your Country/Region
- Leave the Email preferences checkbox unchecked unless you want to receive these communications.
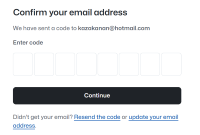
- After you click the Create account button, you will be asked to verify your email by entereing a code sent to the address you provided.
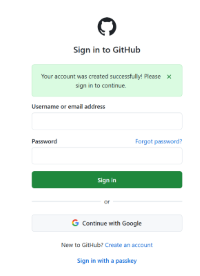
- Once you enter the code to verify your account, you should sign in.
GitHub Organization Invitation
Before you can accept your first GitHub Classroom assignment, you need to accept the emailed invitation to become a Member of your Program's GitHub Organization. Your instructor will let you know when to expect your invitation, which will be sent to your @uw.edu email address.
You should confirm that your @uw.edu email address is being sent to by going to your UW Email Forwarding page. Email forwarding from @uw.edu to another email account may not forward external emails like this invitation.
Accepting Assignments
Before you accept an assignment, make sure you have logged into GitHub with a GitHub account that includes your @uw.edu email.
For GitHub Classroom assignments, your Canvas course will have some sort of "accept assignment" link. When you click this link:
- You will need to grant permissions to GitHub Classrooms if you have not already
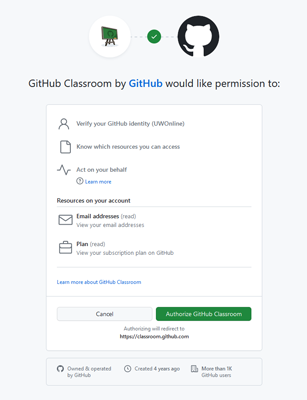
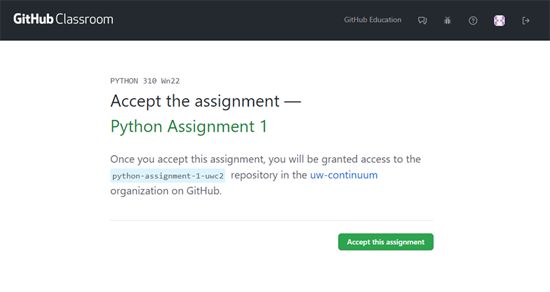
- You will then see the GitHub Classroom page letting you know that you will be granted access to a GitHub repository, named for the assignment plus your GitHub username, once you click the Accept this assignment button
You will then see this screen that GitHub Classroom is working to configure your repository, which is where your will do your work for the assignment.
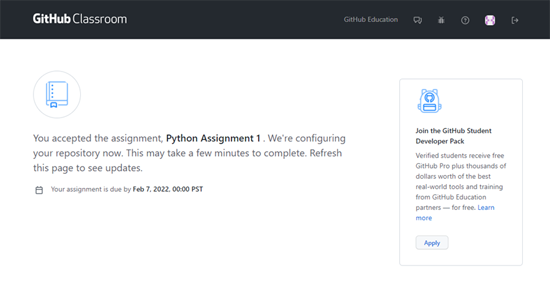
NOTE: The GitHub Student Developer Pack mentioned in the righthand column is only available to full-time
students.
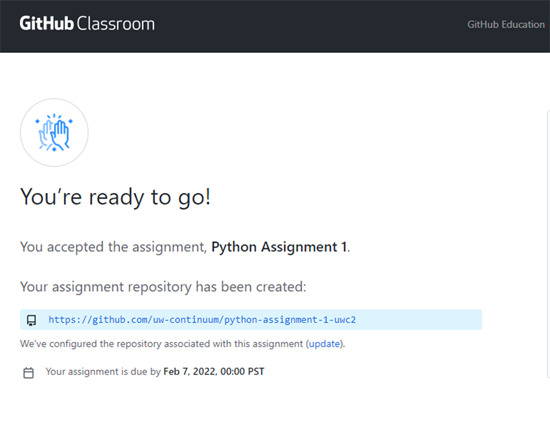
When your repository is ready, you can see this screen that includes the link to your repository (you may need to refresh):
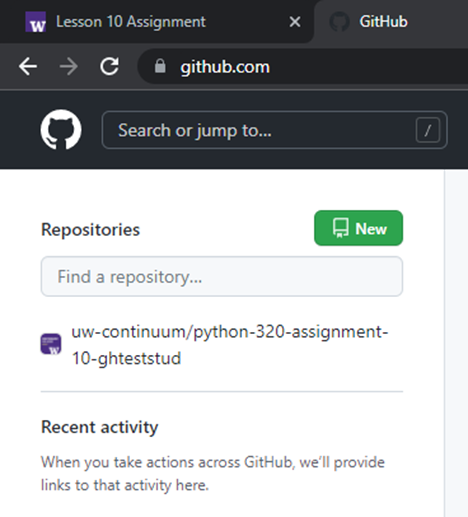
NOTE: You will be able to see your repositories on your main GitHub page: